1. Introduction #
1.1 Power Automate for Power BI visual #
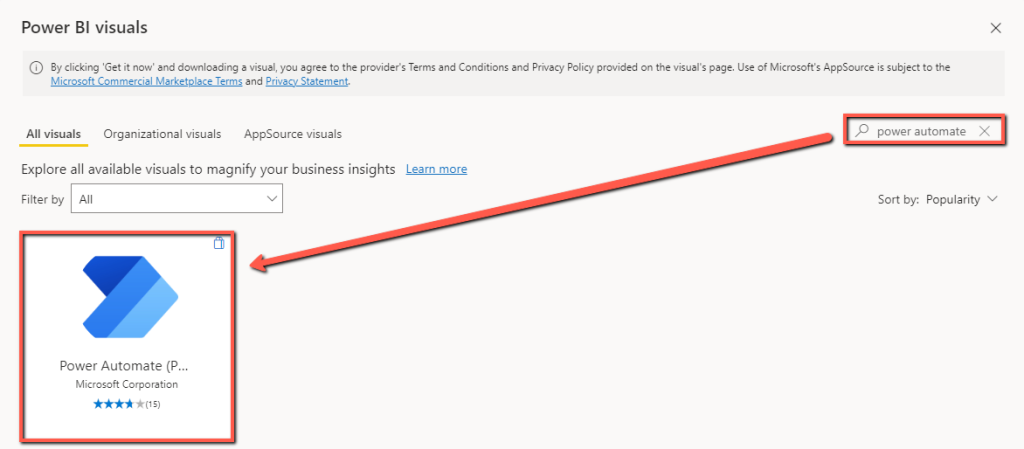
If you don’t already have the Power Automate for Power BI button, you can press … and then Get more visuals .

Search for Power Automate and click the icon.
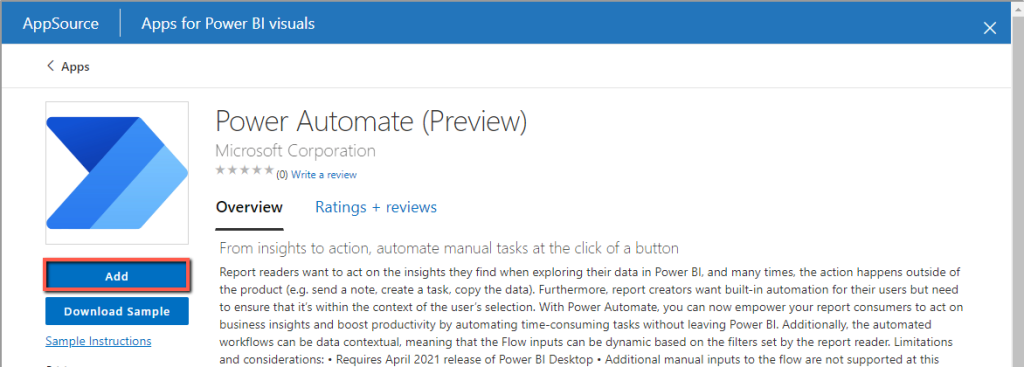
Press Add and wait for it to install.
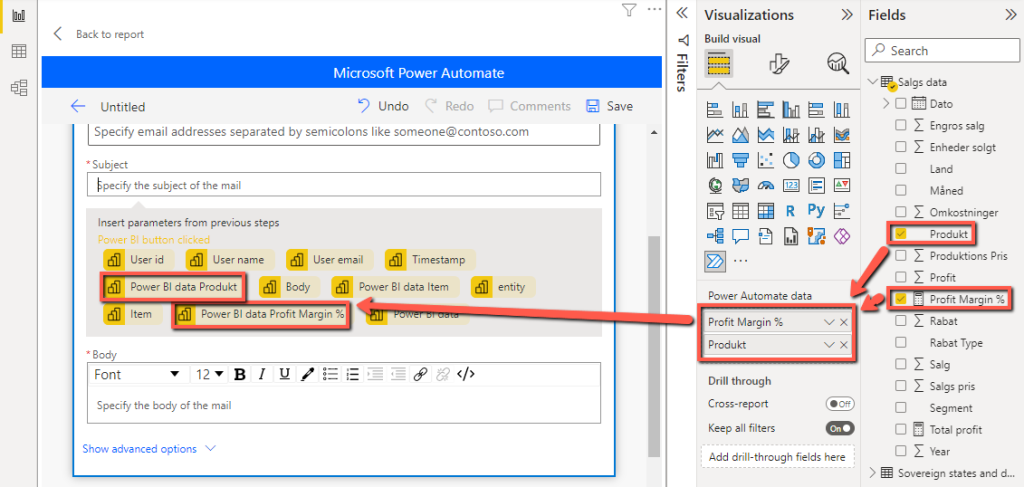
You can then insert the Power Automate for Power BI visual, and depending on whether Power Automate needs certain fields, these must be inserted under Power Automate data . Then click on the three dots at the top of the visual, and then Edit .
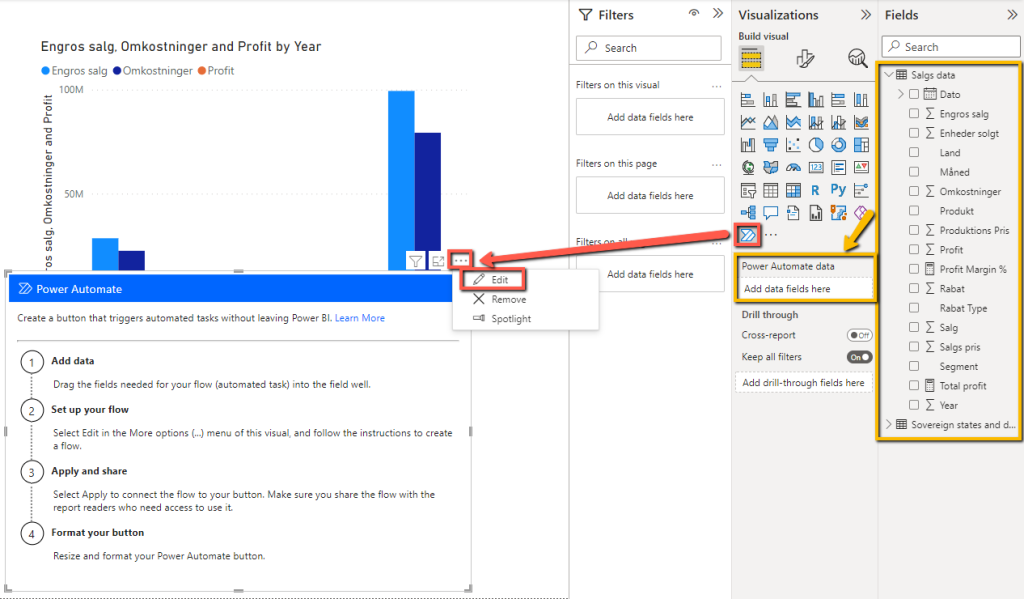
Once you have added data, it can be inserted later into the Power Automate functionality you are building.
2. End-user functionality #
2.1 Update dataset via button example #
Pull up Power Automate from the Visualizations menu, tap … in the top right corner, and then Edit .

Press New and then Instant cloud flow .

Press New step .

Search for Power BI .

Scroll down and click Refresh a dataset .

Fill in the name, the desired Workspace and Dataset, and press ✓ to both save and add the flow to the button.

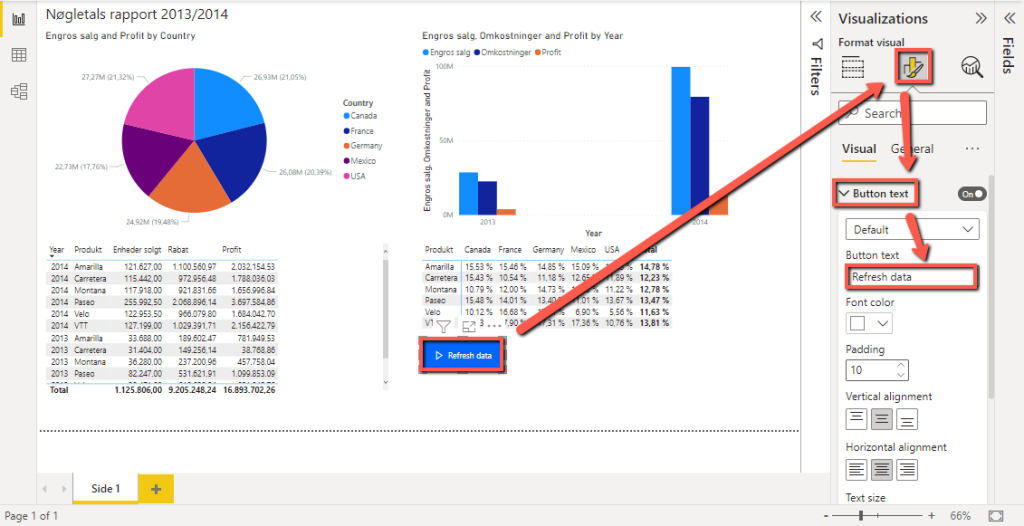
Then switch to Format your visual and give the button a suitable name.
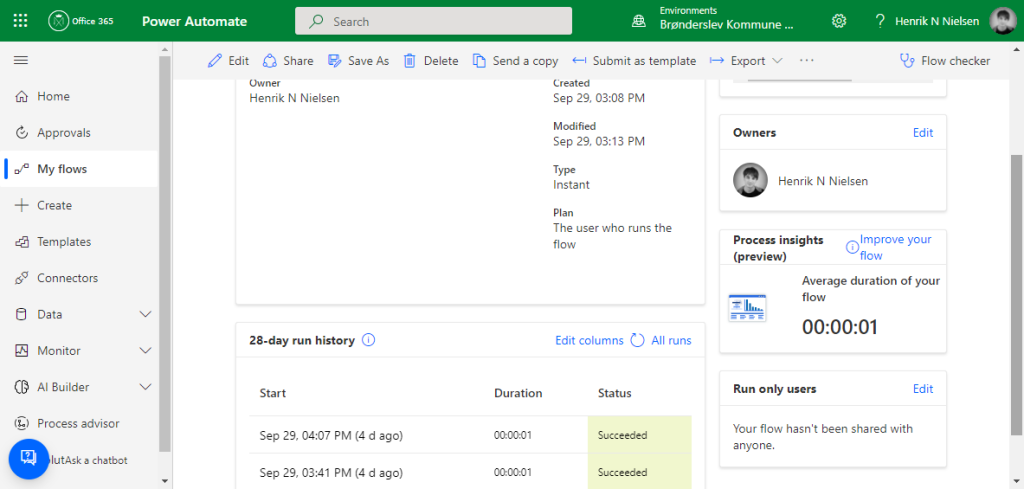
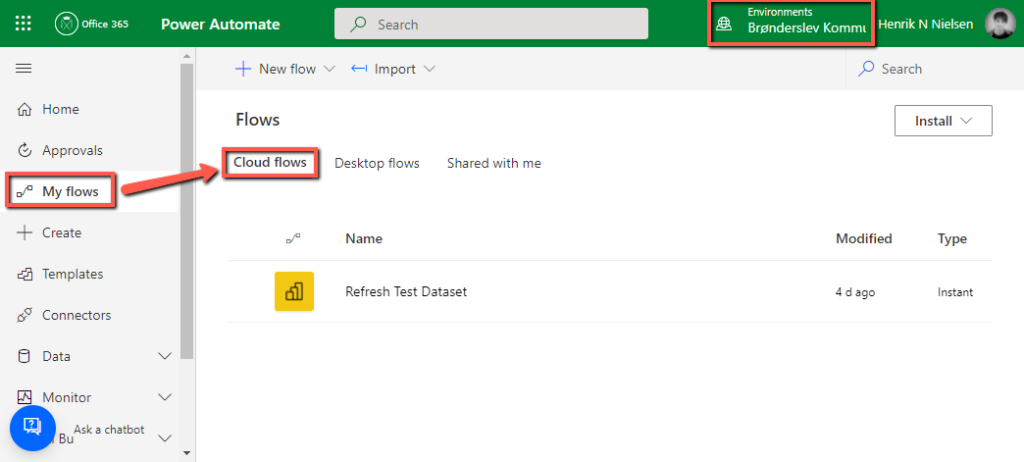
If you want to find your Cloud flow later, it is located in the environment in which the Power BI report was created, under My flows in Power Automate.
If multiple users are to be able to run the flow when the button is pressed, they must be added as either Owners or Run only users on the cloud flow itself. Please note that owners can make changes to the cloud flow as well.
